1.XL430-W250-T (protocol 2) Baud 9600-4,500,000 control algorythim PID
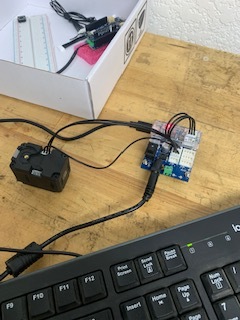
Im working in Windows 10 on a Lenova Think Pad. First effort was with Arduino MKR wifi 1010 and Robotis Dynamixel shield for Arduino. Attempts to scan servo’s thru IDE fails. Spoke to Support , Jonathan and purchased Starter Kit, u2D2 and Power Hub PCB. Scan for Servo Fails
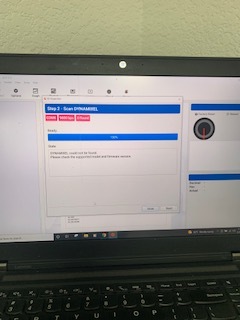
I scanned all ports and Baud rates no progress. I see that I am encouraged to check firmware. I assume this refers to the product and I would first need to locate servo with the scan software before I can evaluate the firmware correct?
So this is a beginner here looking for experts to offer constuctive input please. I will learn by doing.
In the photo that you shared, you had multiple DYNAMIXEL units connected to the U2D2 unit. With new DYNAMIXEL actuators, connecting multiple units at the same time without assigning new IDs will prevent any units from being detected when scanning.
If you connect a single unit to the U2D2 and perform a scan in DYNAMIXEL Wizard is your actuator detected?
I did try a single servo both thru the U2D2 power hub board and directly from the U2D2 itself. I trying different baud rates and booth port options but the sacn comes up with nothing found using Wizard 2.0 v20.13.5
The image you sent of the message you are receiving is too low resolution for me to read the text. Could you please take a screenshot of the results so that I can examine the message?
Hi @invent2market
Welcome to ROBOTIS Community!
Yes I suggest -as you said that you are a beginner- set IDs with U2D2 (and Powerhub) but:
Check power supply: 6.5 ~ 12.0 [V] ( Recommended : 11.1 [V] )
When you switch on, the motor’s red LED will turn on for 1~2 seconds.
Check Motor’s cable and connection.
Change/Test your MicroUSB Cable.
Check your COM port : Right click on the windows button, click on the Device Manager, If everything is ok., you will see U2D2’s COM on Ports section. ( If you don’t, maybe you will need FTDI driver)
On the Scan Properties you can just select 57600 and 1000000 Baud rate with Protocol 2.0 but if you think you accidentally changed motor settings via MKR, I suggest tick all options to full scan.
Thanks for the input, I discovered with the Jonathans help that the Robotis SMPS 12V 5A PS-110V plug in power supply was defective and the servo’s were not getting the necessary power to allow this process to succeed. When it was replaced we we able to create the new internal ID and up the baud rate to 2Mbps on each of the four servos.
Thanks for the input,
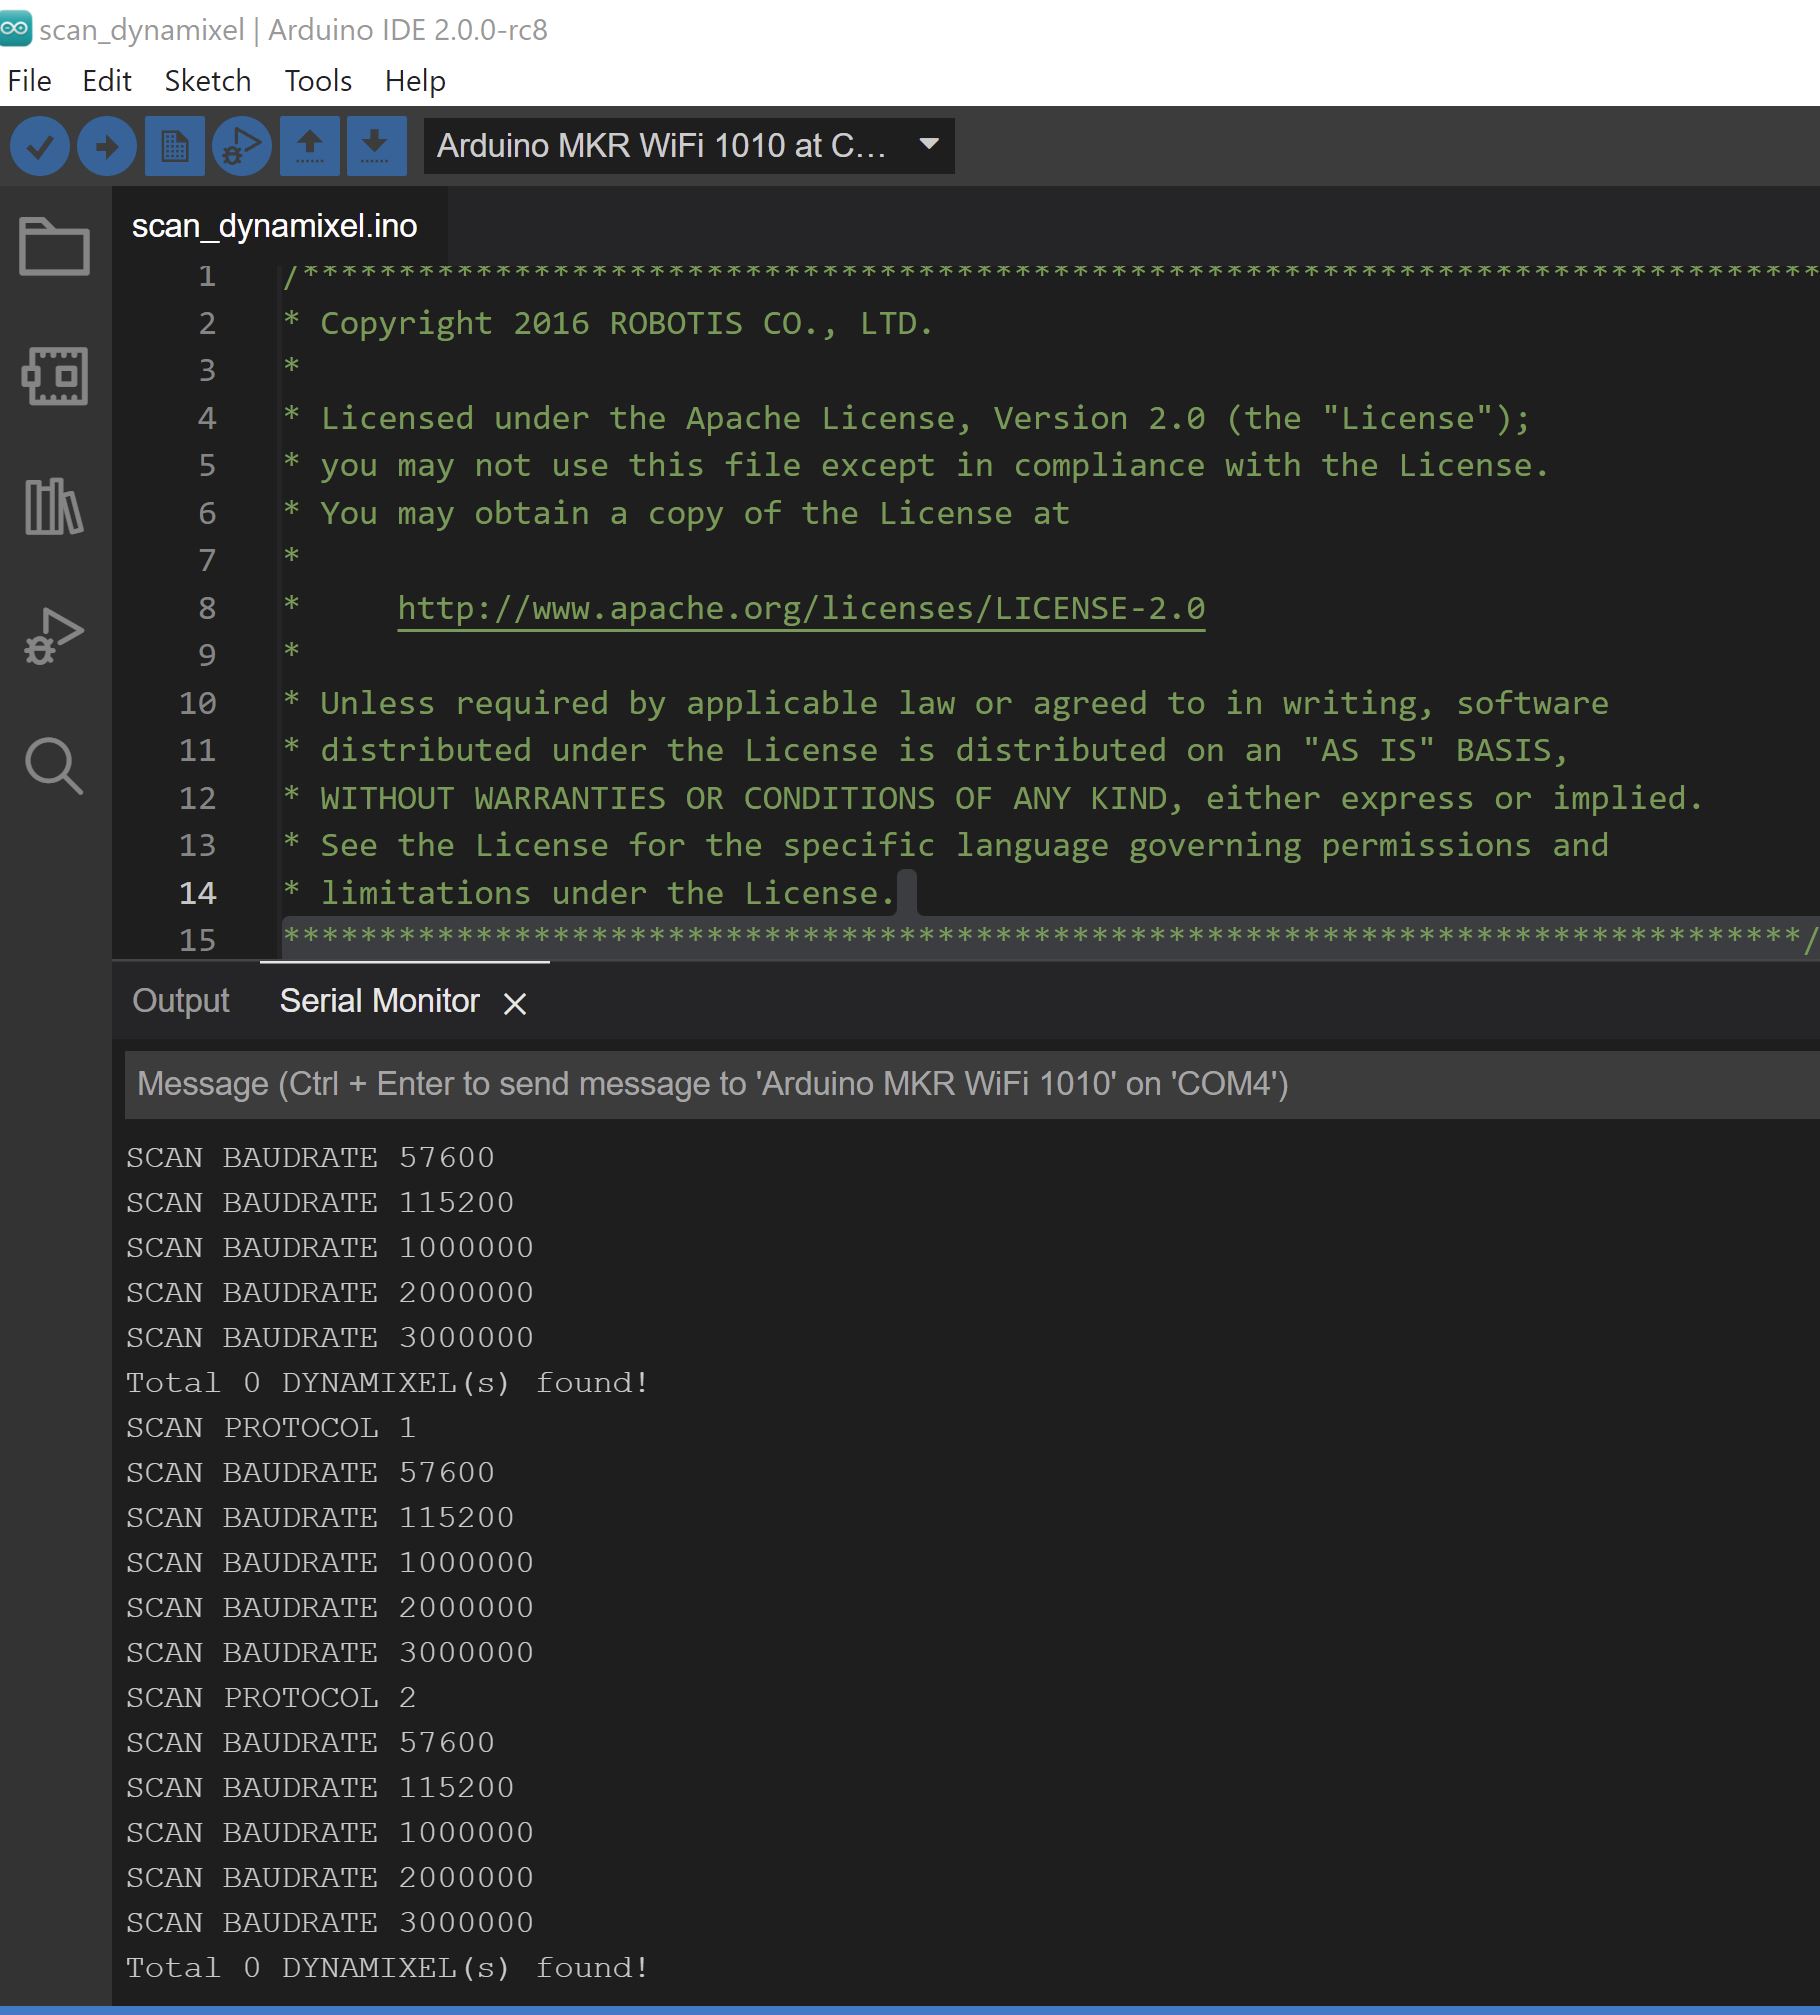
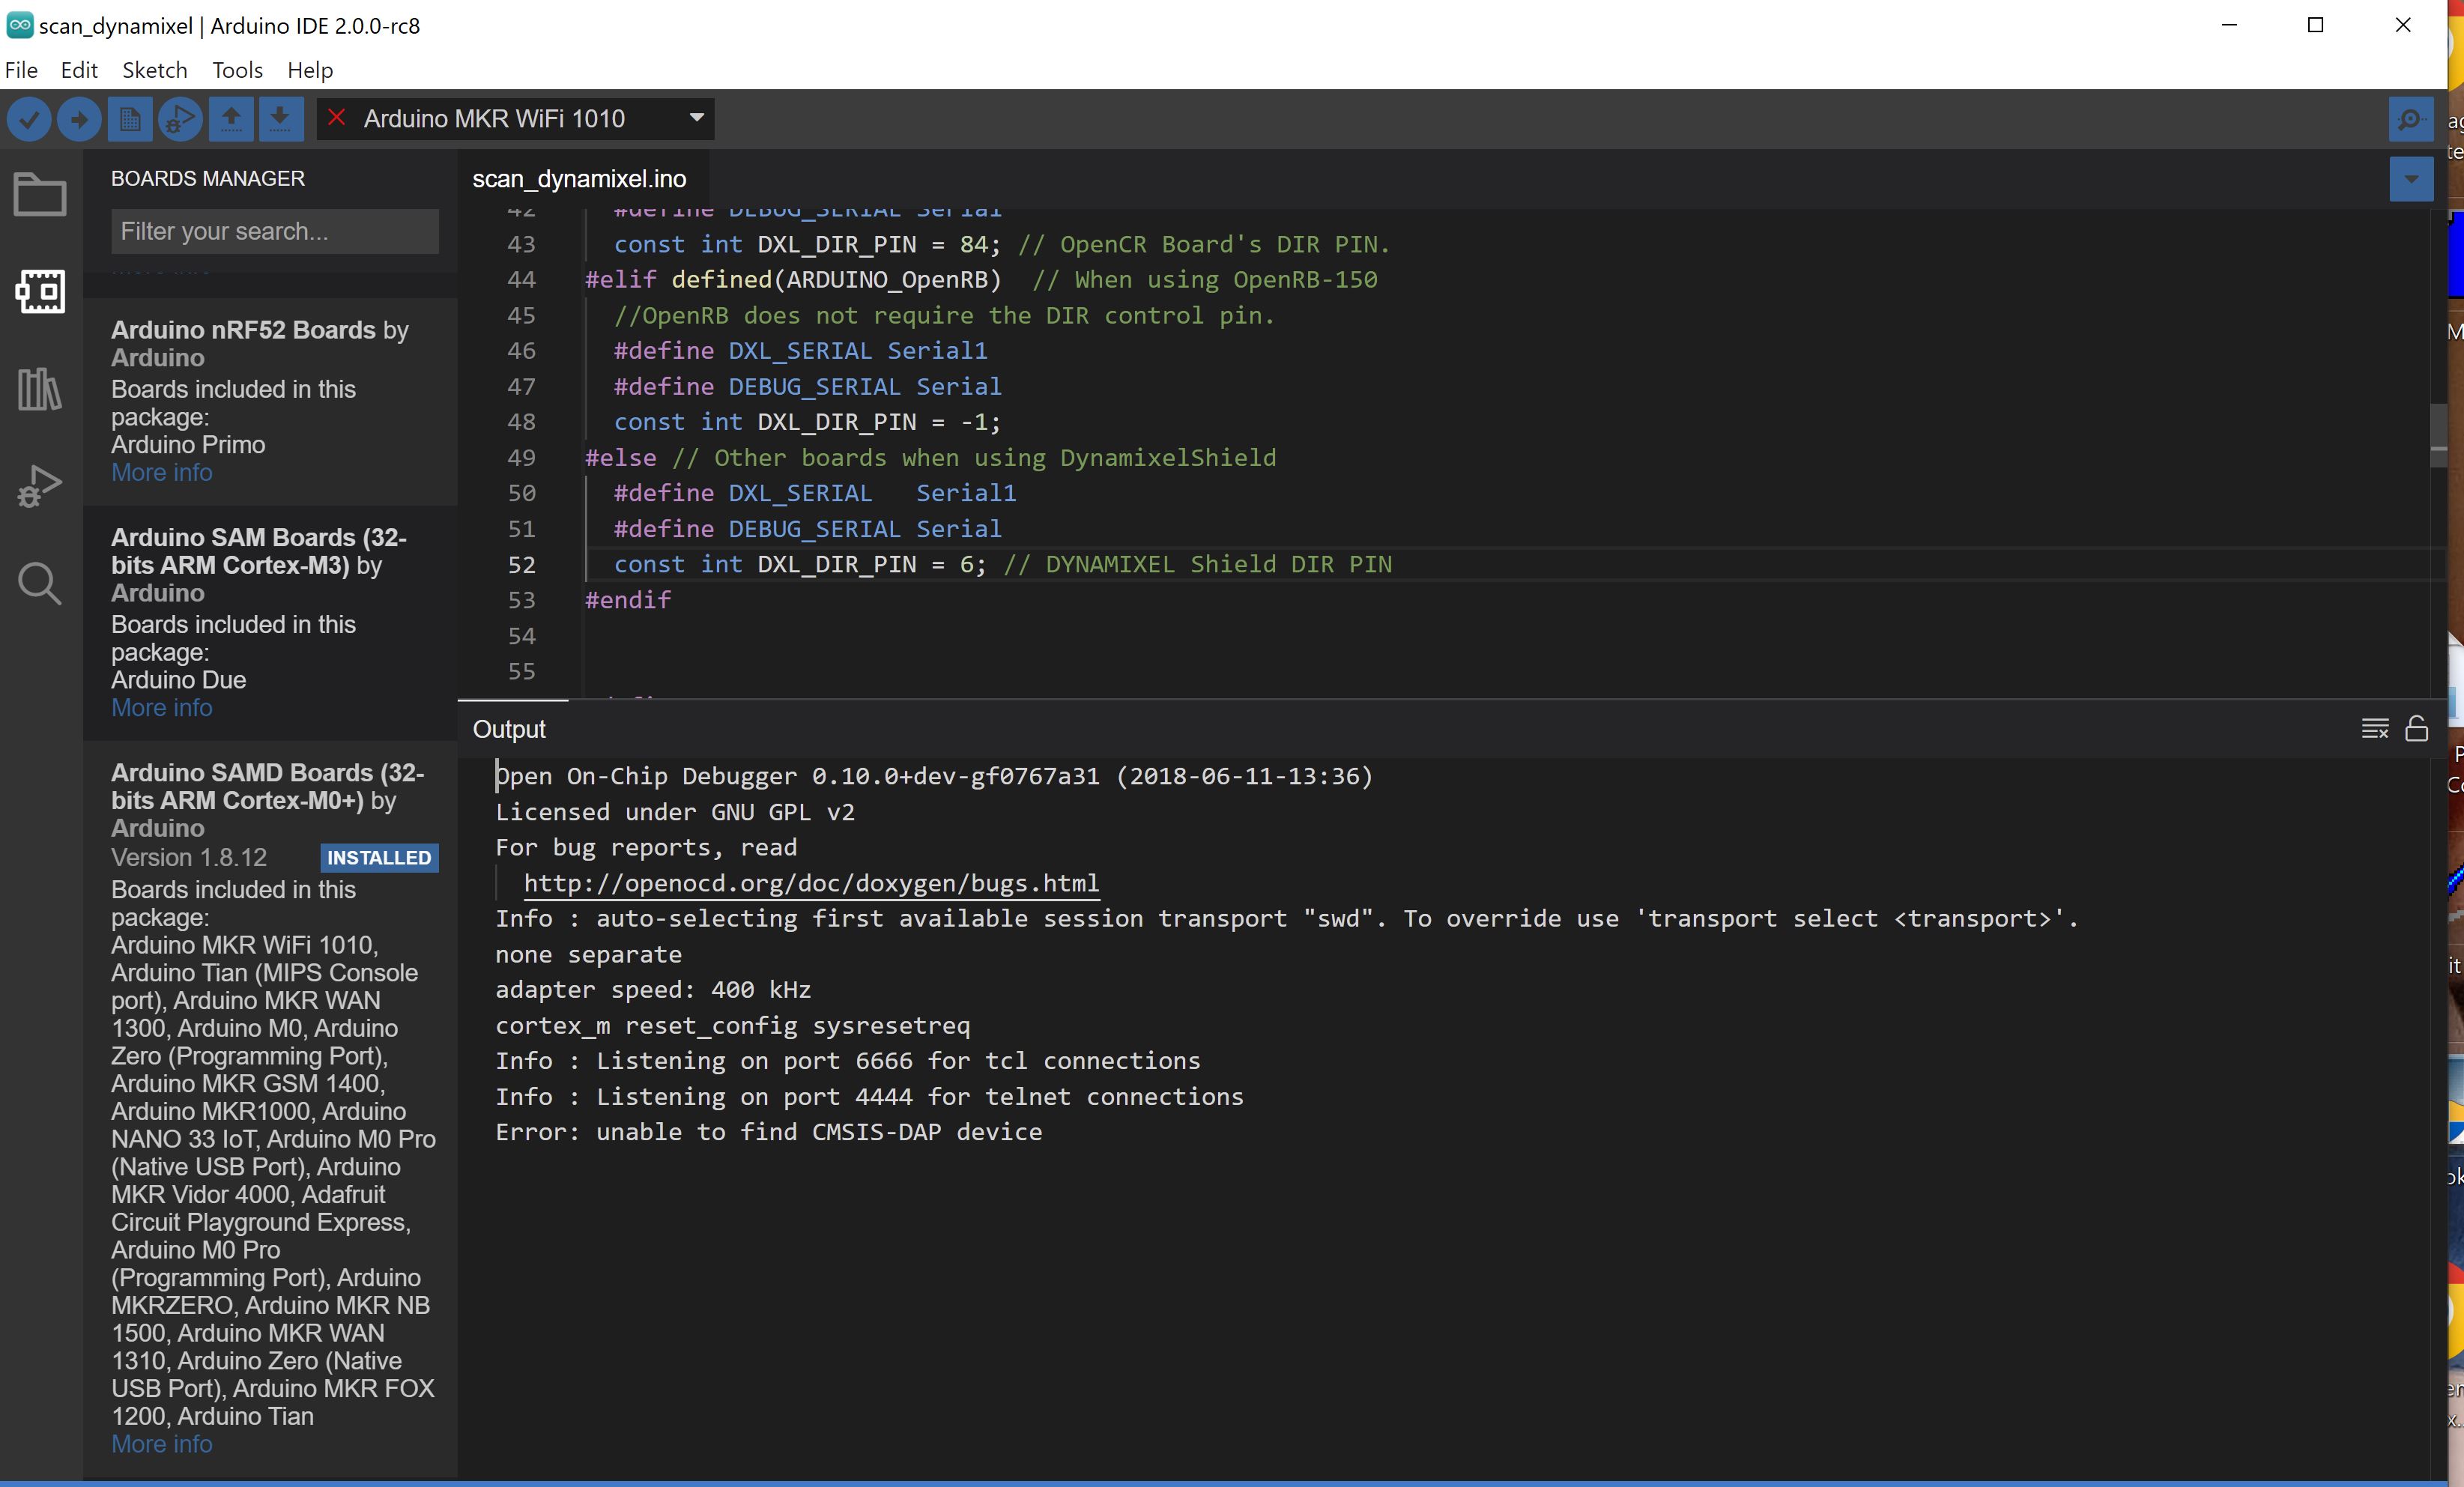
After working with the U2D2 and U2D2 power Hub with success I then went back to Arduino IDE and ran the scan dynamixel. The attached image shows a zero dynamixel found with the dame servo’s that had their internal ID changed to 1,2,3,4 and baud set to 2Mbps. I saw the light blink on each of the four servo’s as they are all wired together as they will be used in the device I am creating. Looking forward to more advice from all who have the time.
Many thanks
Dan
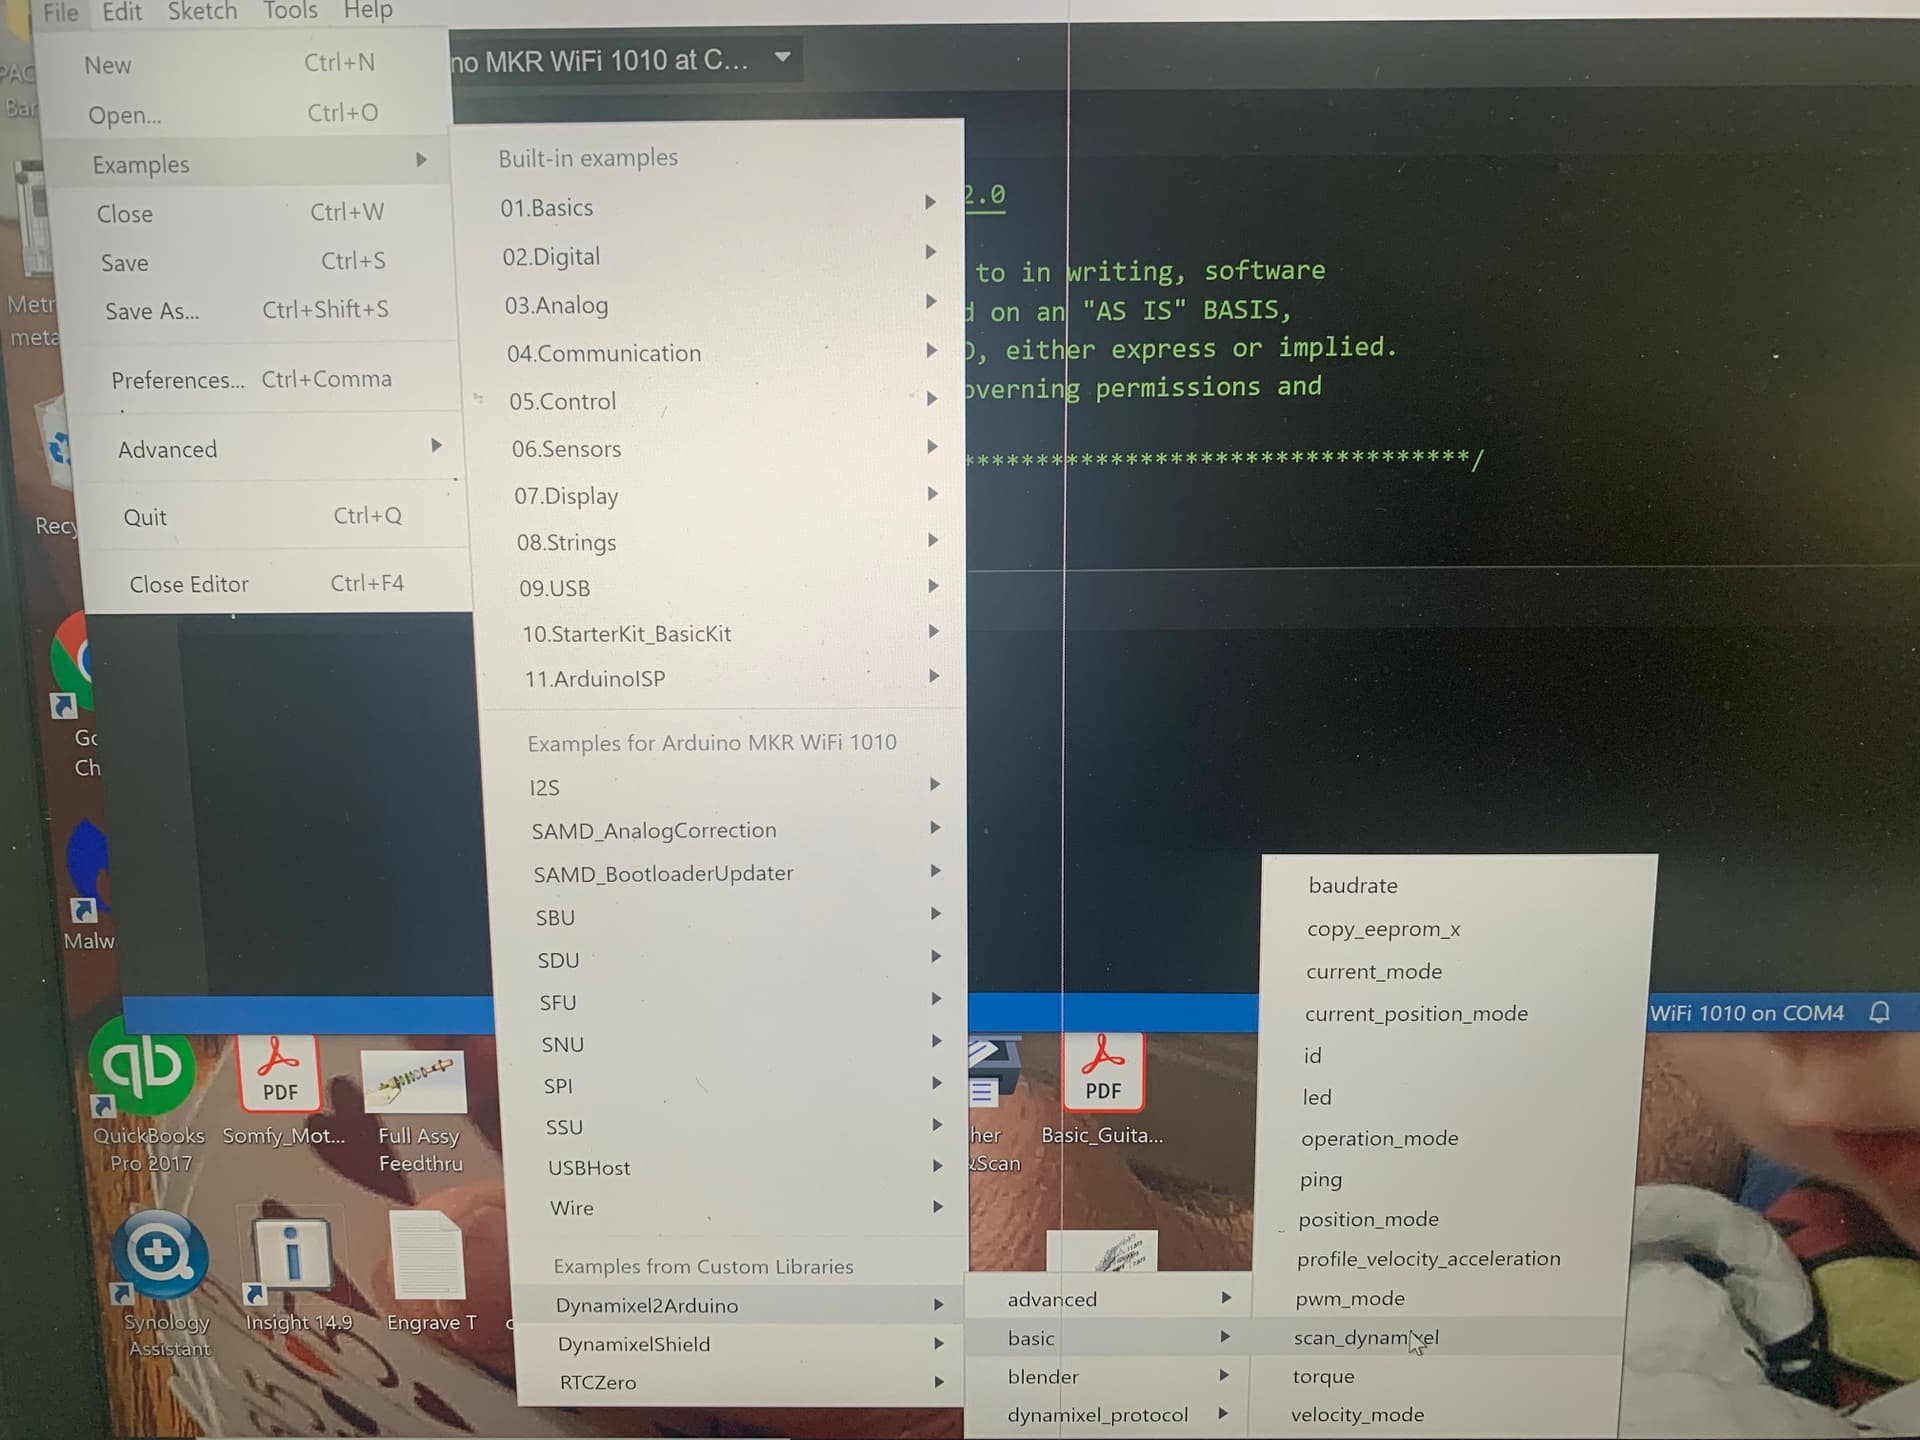
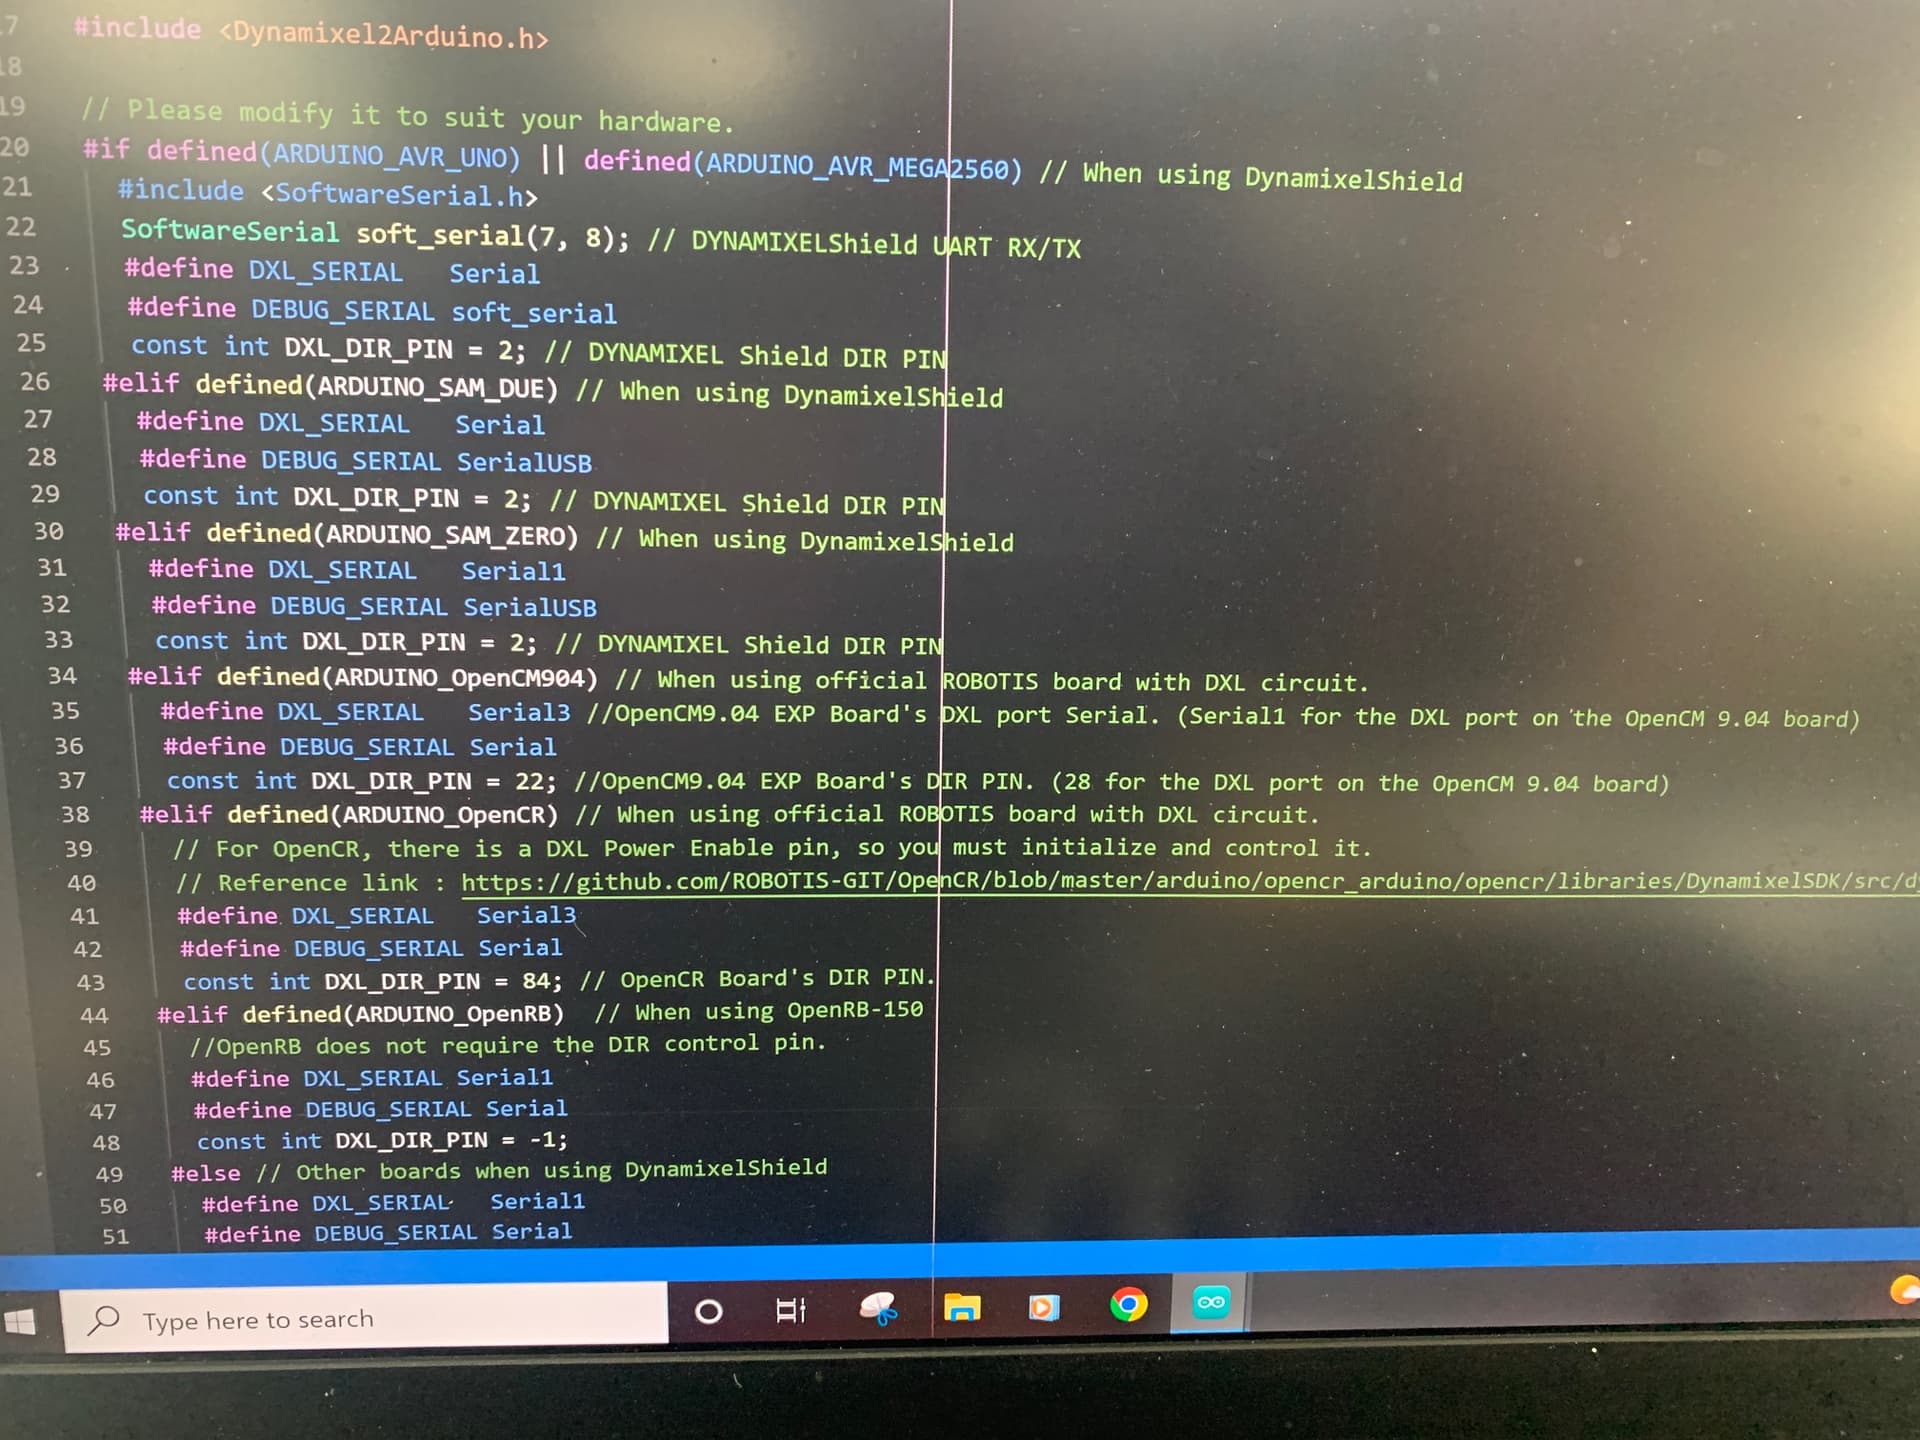
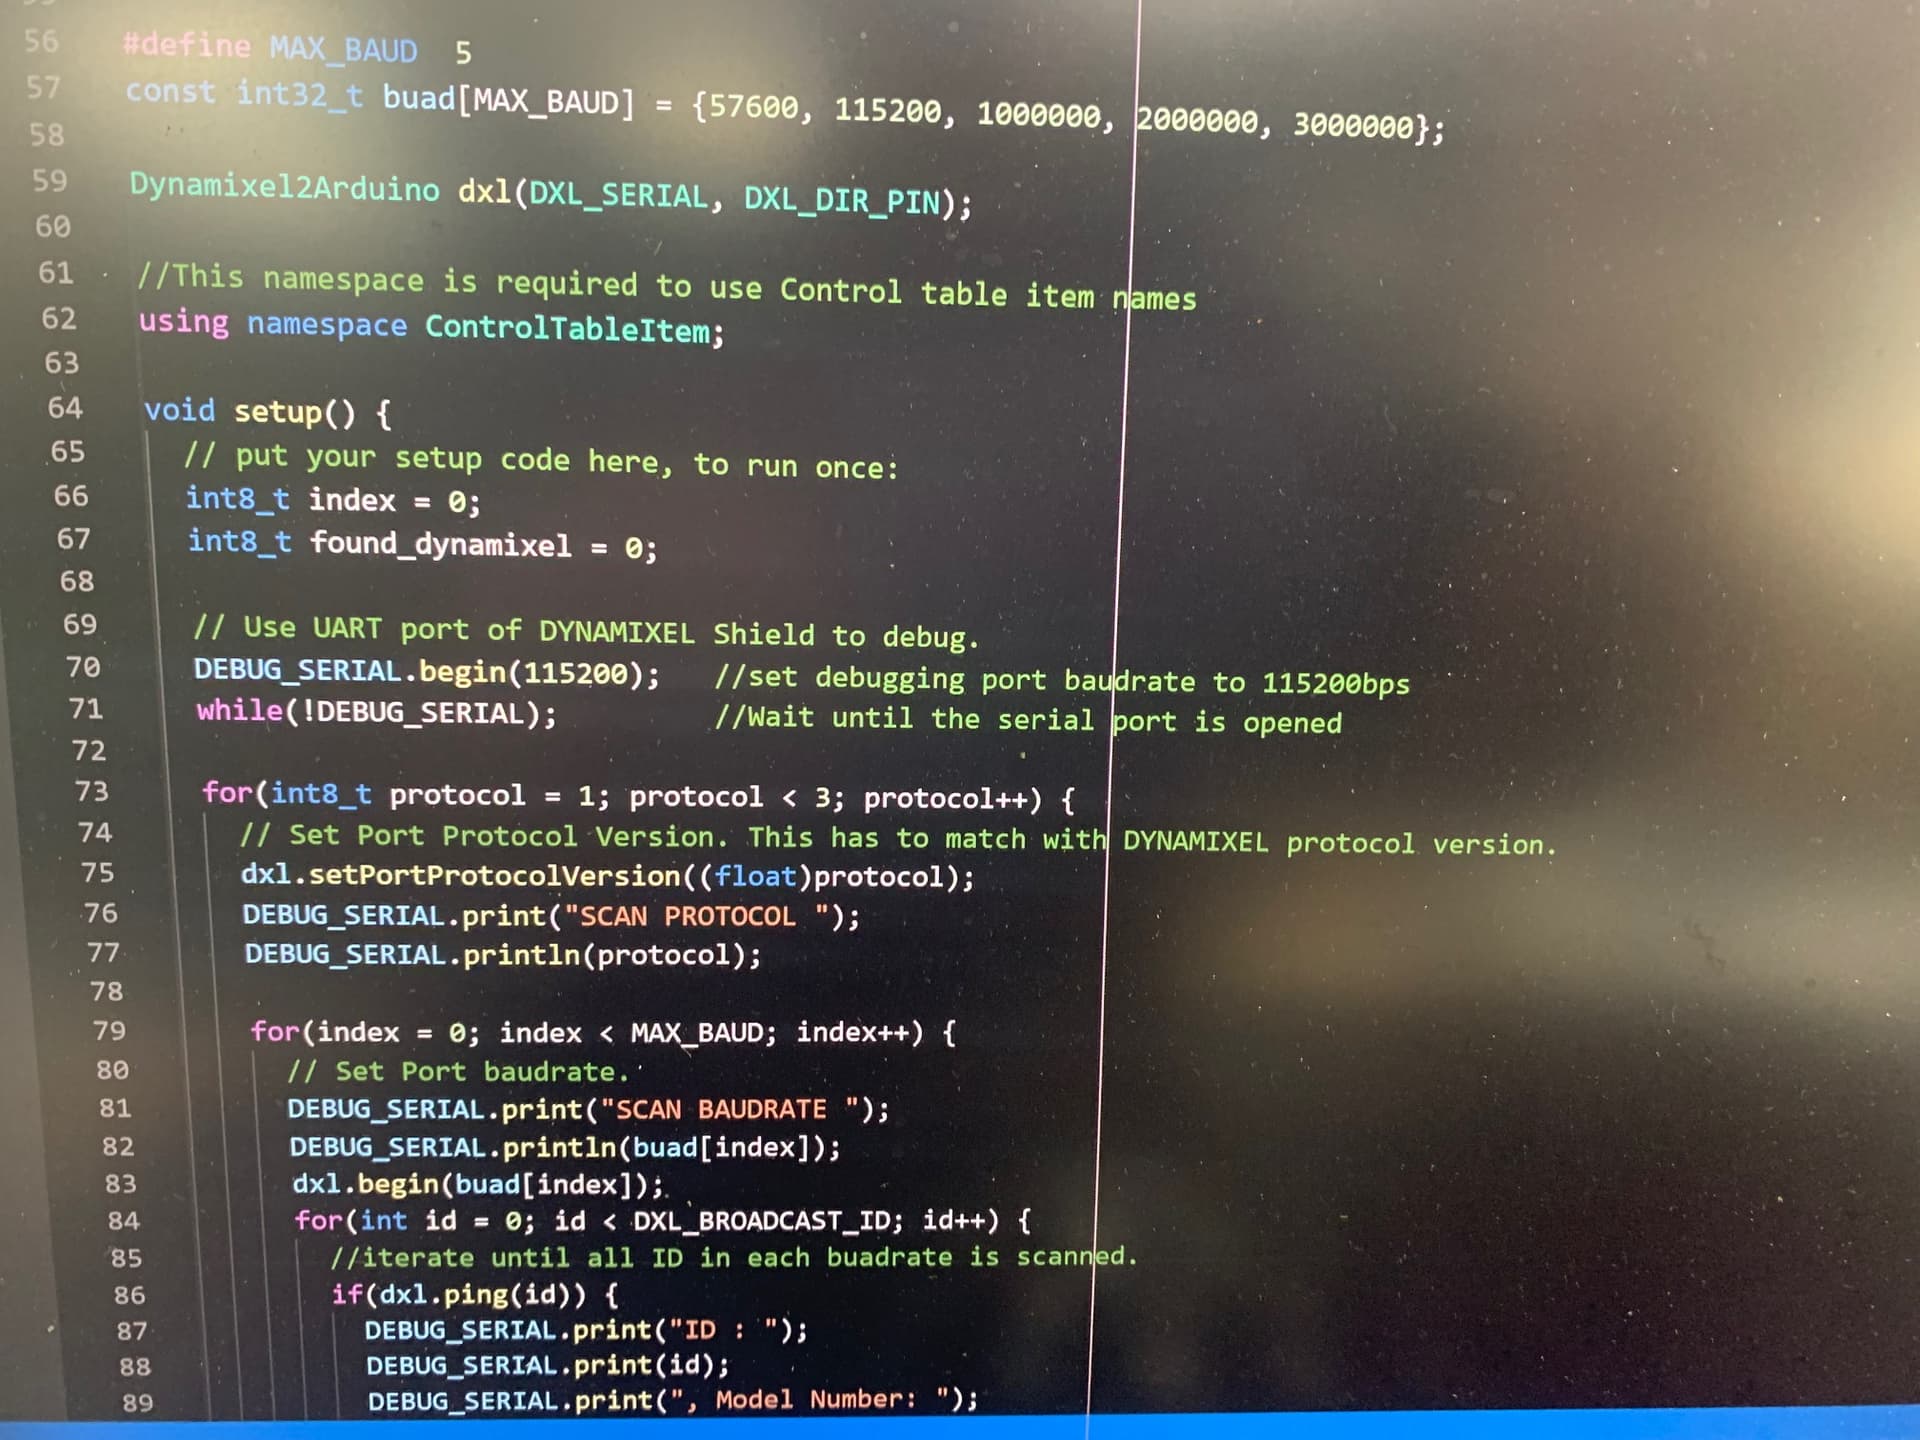
I am wanting to locate documentation that will allow me to edit this generic program to specify my Arduino MKR 1010 and the Dynamixel Sheild for Arduino MKR series board being used in Dynamixel IDE to scan for four servo’s. I can write GCode but need to learn how to write to dynamixel. Any docs that I can use to teach myself would be greatly appreciated!
I see that you are using the example from the Dynamixel2Arduino library, that example is using the “incorrect” DXL_DIR_PIN for the DXL MKR Shield. That example uses pin 2, instead of A6. Please see more details in this post
It was for the Portenta, but it works the same for any MKR board too. I do have a MKR 1010 WiFi and I have no problem using the Dynamixel2Arduino library directly.
It is not “6”, it is “A6”. You need to read my posting more carefully or look at the picture that I shared more closely (it is in hi-res).
You also would need to get used to checking info published on the Robotis e-manual for the equipment that you use. There are lots of info there too.
In the above layout, you can see that Pin A6 is used to communicate between the DXL MKR Shield and any MKR board.
Pin 2 was used to do the same task if you use the UNO format and the old DXL shield.
Unfortunately, many examples for the Dynamixel2Arduino library had not been updated properly yet by ROBOTIS, so keep an eye on this issue, as you continue on your project.